

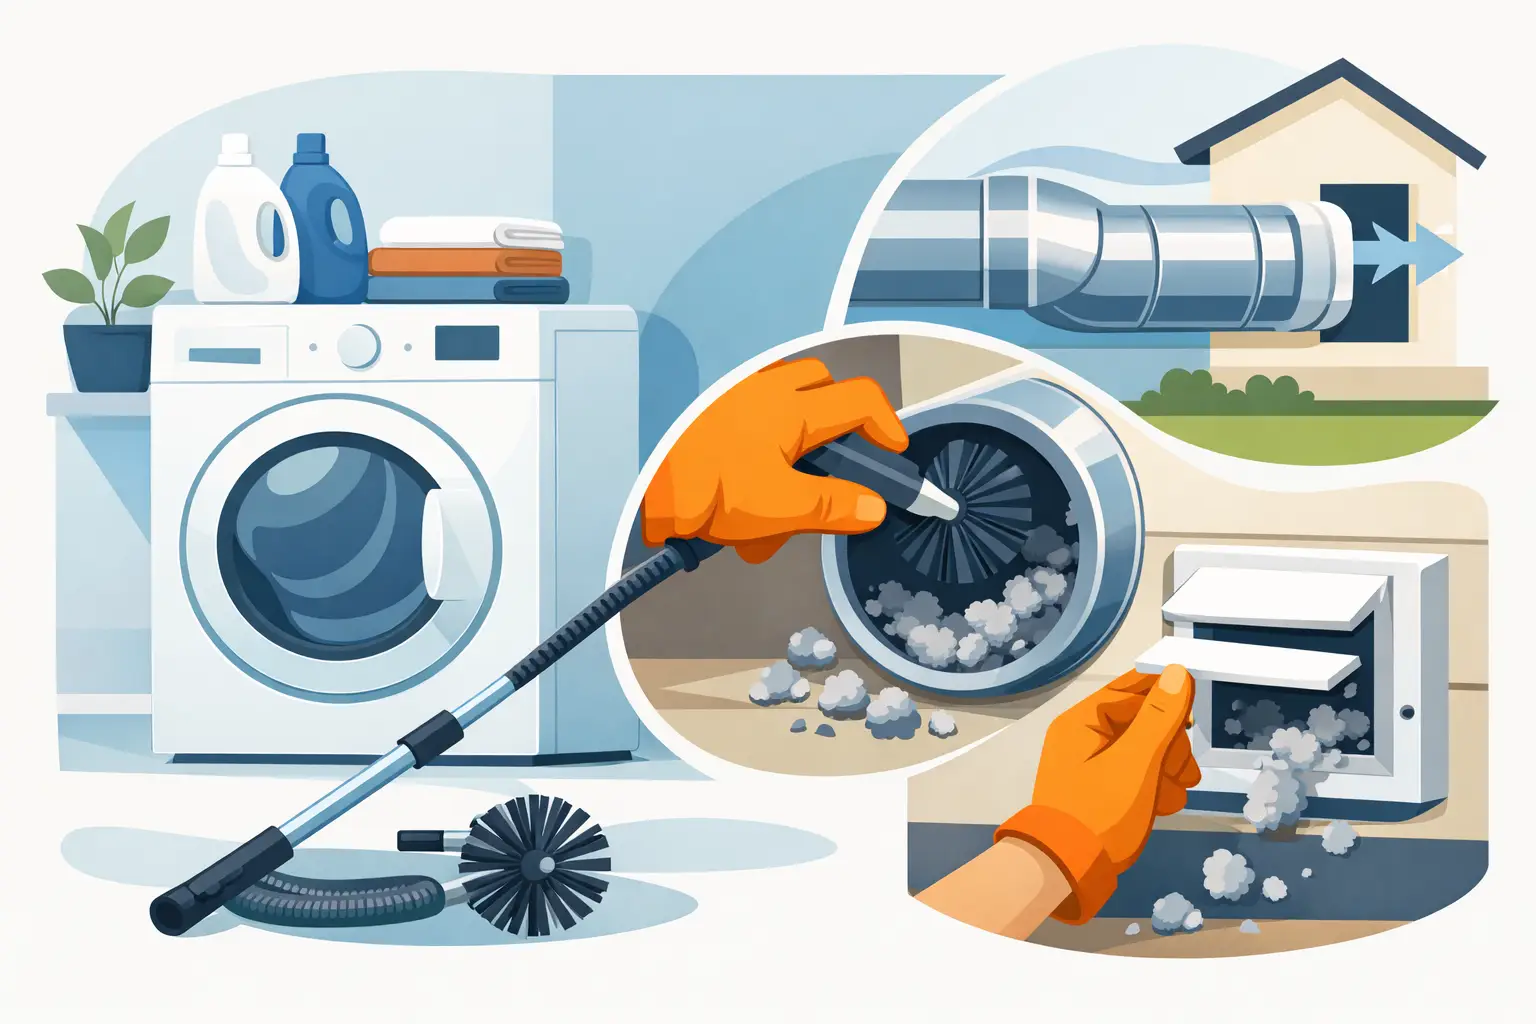
A dryer that suddenly needs two or three cycles to dry a normal load is not just wasting time and energy. It may be struggling to push moist air through a lint-filled vent. Knowing how to clean dryer vent components safely can help protect your home, improve drying performance, and reduce a common fire risk.
Dryer vent cleaning is not the same as emptying the lint screen. The screen catches much of the visible lint, but fine fibers still travel beyond it and collect in the transition hose, wall duct, and exterior vent hood. For homeowners in Wake, Durham, and Orange Counties, seasonal pollen, outdoor debris, and humid North Carolina weather can add to the buildup around the exterior outlet.
Why a Clean Dryer Vent Matters
Your dryer needs a clear route to exhaust heat, moisture, and lint outdoors. When that route narrows, the appliance runs hotter and longer. Clothes may come out damp, overly hot, or carrying a musty smell from sitting in a humid drum too long.
The bigger concern is lint. It is highly combustible, and a clogged vent can cause excessive heat inside the dryer and ductwork. Cleaning the vent regularly is a practical part of home maintenance, especially for households that do frequent laundry, have large families, or wash pet bedding and towels that shed heavily.
A clear vent can also help your dryer work more efficiently. That does not mean every slow-drying problem is caused by lint. A failing heating element, damaged blower, improper vent installation, or a crushed hose can create similar symptoms. Still, checking the vent is a sensible first step.
Signs Your Dryer Vent Needs Attention
Do not wait until the vent is completely blocked. Pay attention if clothes take longer than usual to dry, the laundry room feels unusually warm or humid, or the outside vent flap does not open while the dryer is running. A burning smell, visible lint near the dryer connection, or a dryer that shuts off mid-cycle calls for prompt attention.
You may also see lint accumulating around the exterior hood or notice that the vent flap is stuck open. A stuck-open flap can let in insects, pollen, and damp outdoor air. A flap that will not open can trap exhaust indoors and deserves immediate inspection.
As a general rule, clean the lint screen before every load and inspect the full dryer vent system at least once a year. Homes with pets, high laundry volume, long vent runs, or several turns in the duct may need professional cleaning more often.
How to Clean a Dryer Vent Step by Step
Before you start, set aside enough time to work carefully. The job is straightforward when the vent run is short and accessible. It becomes more complicated when ductwork travels through a ceiling, crawlspace, attic, or exterior wall with multiple bends.
1. Gather the Right Tools
You will need a vacuum with a hose attachment, a dryer vent brush kit with flexible rods, a screwdriver or nut driver if your clamp requires one, and a microfiber cloth. A flashlight is helpful for checking behind the dryer and looking into the exterior hood.
Avoid using a leaf blower inside the vent. It can force lint deeper into a blockage, separate duct connections, or send debris into places you cannot inspect. Do not use sharp objects that could puncture flexible ducting.
2. Turn Off the Dryer
Unplug an electric dryer before moving it. For a gas dryer, turn the appliance off and use extra care around the gas connection. If you smell gas, notice a damaged connector, or are not comfortable moving the appliance, stop and call a qualified professional.
Pull the dryer away from the wall slowly. Do not tug on the vent hose or power cord. The flexible transition duct behind the machine can be crushed easily, and a kinked hose restricts airflow even if it looks clean.
3. Clean the Lint Screen Housing
Remove the lint screen and clear it as usual. Then use the vacuum crevice tool to remove lint from the slot where the screen sits. A long, narrow lint brush can reach farther into the housing, but move it gently so you do not damage internal components.
If you use dryer sheets, fabric softener residue can coat the screen and limit airflow. Wash the screen with warm water and mild soap, rinse it well, and let it dry fully before reinstalling it. You should be able to run water over the screen without the water pooling on the mesh.
4. Disconnect and Inspect the Transition Duct
Loosen the clamp connecting the dryer to the vent duct. Carefully remove the transition duct from the dryer outlet and the wall connection. Vacuum loose lint from both ends, then inspect the duct for tears, crushing, or heavy buildup.
A rigid or semi-rigid metal transition duct is generally a safer choice than thin plastic or foil-style hose, which can sag, trap lint, and tear. If the duct is damaged or cannot hold its shape, replacement is usually better than trying to clean around the problem.
5. Brush the Wall Vent Carefully
Insert the dryer vent brush into the wall duct and turn it gently as you feed it forward. Add flexible rods one section at a time. Pull the brush back out periodically to remove collected lint rather than packing it farther down the line.
Use the vacuum at the wall opening as you work. If the brush hits a hard stop, do not force it. You may have reached a bend, a blockage, a disconnected section, or an animal nest near the exterior hood. Forcing the tool can damage the duct or leave a brush head stuck inside.
6. Clean the Exterior Vent Hood
Go outside and locate the dryer exhaust hood. Remove visible lint, leaves, and debris from the cover and flap. Make sure the flap can move freely and is not blocked by paint, screening, or a pest guard that is collecting lint.
Never operate a dryer that vents into a garage, attic, crawlspace, or enclosed porch. Dryer exhaust carries moisture and lint that can contribute to mold concerns and poor indoor air quality. The exhaust should terminate outdoors through a properly installed hood.
7. Reconnect and Test Airflow
Reconnect the transition duct securely at both ends. Keep it as short and straight as the installation allows, without crushing it when you push the dryer back into place. Reinstall the lint screen, plug the dryer in, and run it on an air-only or short timed cycle.
Check outside to confirm that the vent flap opens and air is moving freely. Inside, listen for rattling or air leaks around the connection. If airflow still feels weak, stop using the dryer until the issue is identified.
When DIY Cleaning Is Not Enough
A basic cleaning can handle accessible lint, but it cannot always reach the entire system. Professional service is the safer option when the vent run is long, passes through inaccessible areas, has multiple sharp turns, or shows signs of a serious blockage. It is also wise to call for help if your dryer continues overheating or taking too long after cleaning.
Professional dryer vent cleaning uses specialized equipment to clear lint through the full run while checking connections, airflow, and the exterior termination. A reputable provider should explain what they found, describe any limitations or repairs needed, and give clear pricing before work begins. No vague add-ons. No pressure to approve services you do not need.
RestorePro Cleaning Services approaches dryer vent care with the same straightforward focus we bring to healthier homes: clear communication, family-conscious service, and results you can feel in everyday routines.
Keep the Vent Clear Between Cleanings
Small habits make a real difference. Empty the lint screen before every load, and do not run the dryer without it in place. Vacuum behind and beneath the dryer a few times a year, where lint can collect unnoticed.
Avoid overloading the drum, since packed loads shed more lint and often dry unevenly. After washing pet blankets, fleece, new towels, or heavily linting items, check the screen again before the next load. These materials can fill a screen faster than expected.
A clean dryer vent is one of those quiet home-care tasks that pays off every laundry day. If the vent is hard to reach, airflow is still poor, or you simply want confidence that the whole line is clear, choosing careful, transparent professional help is a practical way to keep your home safer and your dryer working as it should.